How to Install the Itinerak Plugin on WordPress

Installing the Itinerak plugin on WordPress takes only a few minutes. This guide will walk you through downloading Itinerak, installing and activating the plugin, and getting started with the Free plan.

Step 1

Download the Itinerak Plugin

Visit the official Get Itinerak page and click Download Free to download the latest stable version of the Itinerak plugin to your computer as a ZIP file.

Download the Itinerak plugin from the official website
Click Download Free to download the latest stable version of Itinerak.
Good to know: You can start with the Free plan. You do not need to purchase a paid plan to install Itinerak and begin using the plugin.
Step 2

Upload Itinerak to WordPress

Log in to your WordPress dashboard and go to Plugins → Add Plugin. At the top of the page, click Upload Plugin to open the plugin upload area.

Click Choose File and select the Itinerak ZIP file you downloaded in the previous step.
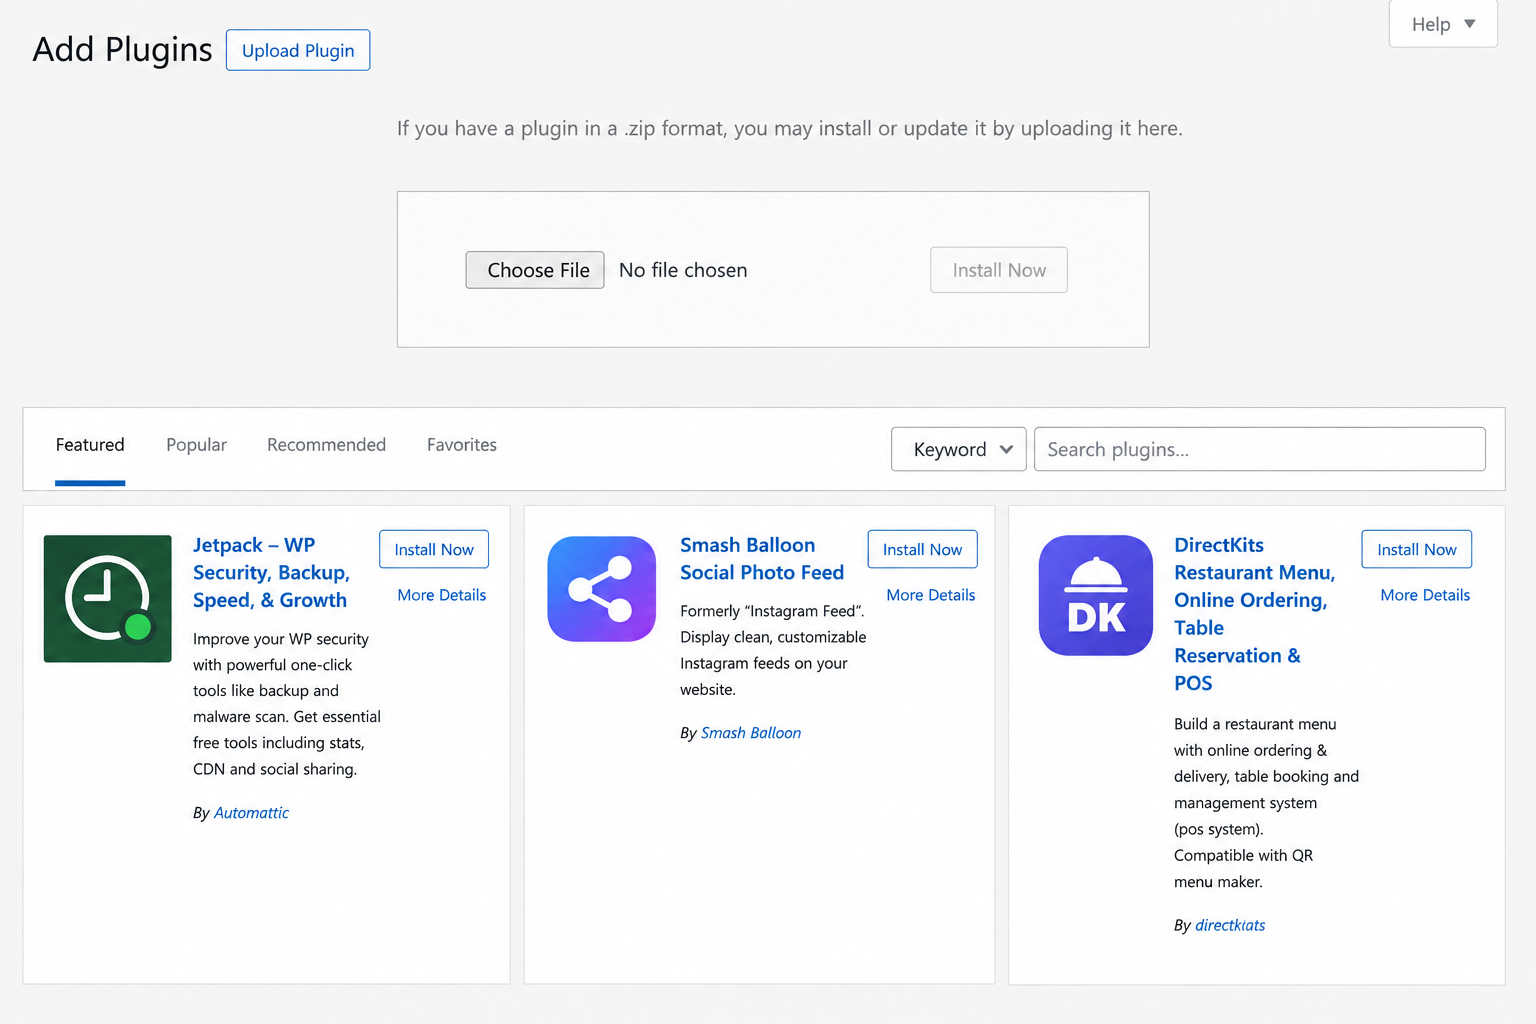
Upload the Itinerak plugin from the WordPress Add Plugins page
Open the WordPress plugin uploader and select the Itinerak ZIP file.
Important: Upload the ZIP file directly. You do not need to extract or unzip the Itinerak plugin before installing it.
Step 3

Install the Itinerak Plugin

After selecting the Itinerak ZIP file, make sure itinerak-routes.zip appears next to the file selector. Then click Install Now to begin the installation.

WordPress will upload the ZIP file and install Itinerak automatically. Keep the page open while the installation is being completed.
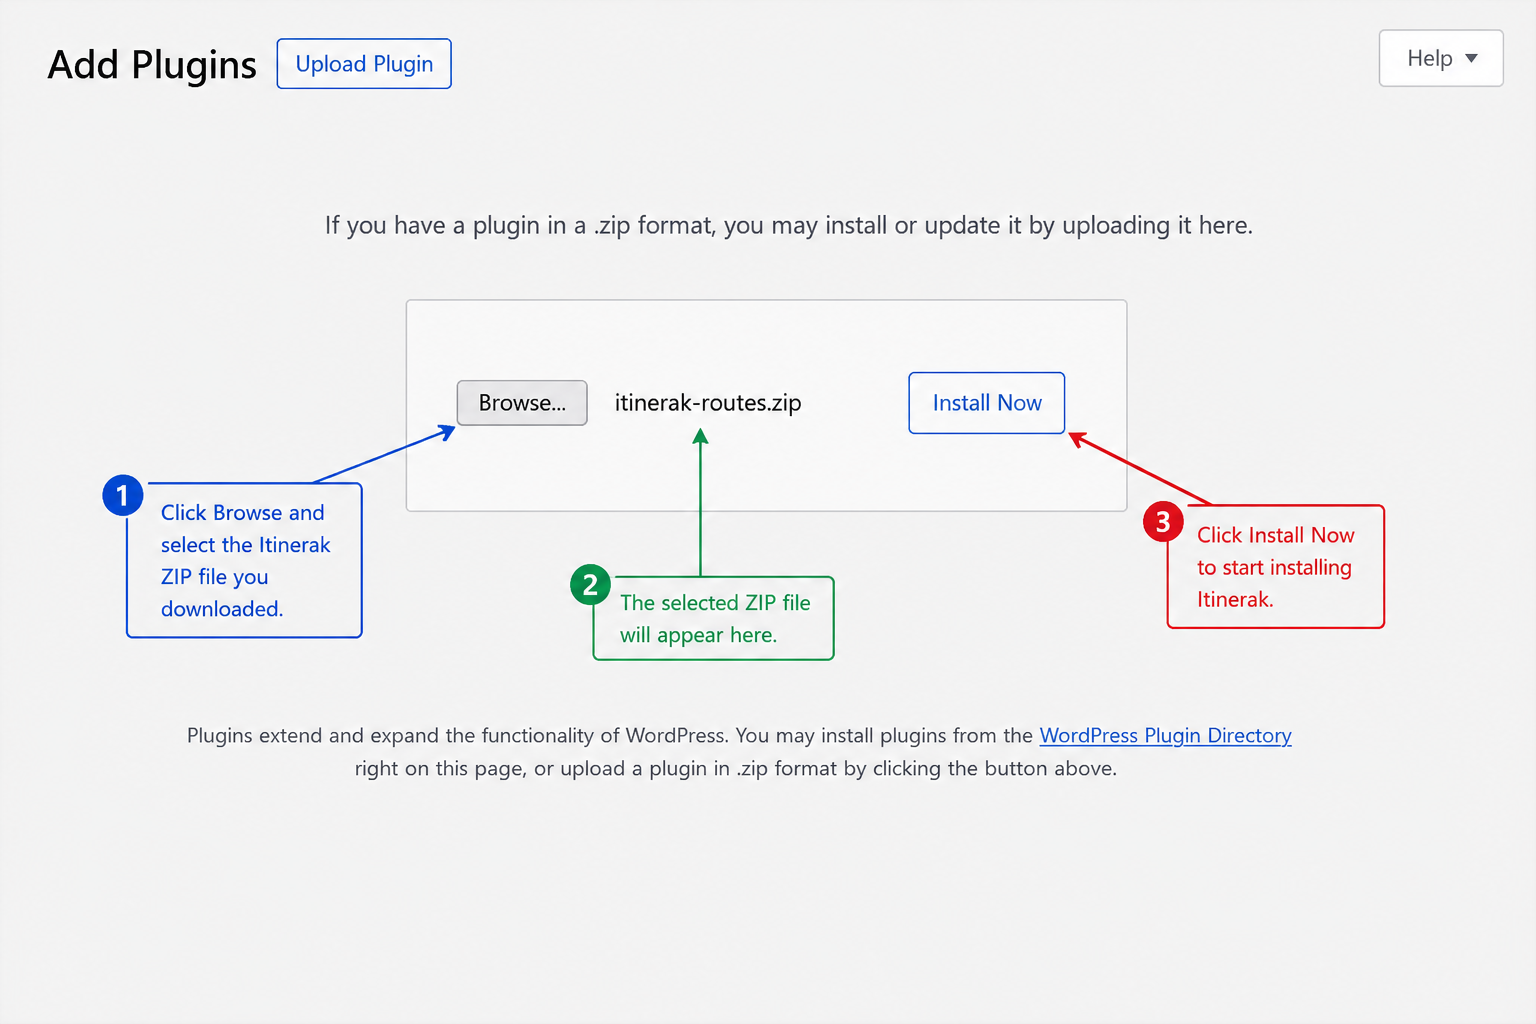
Install the Itinerak WordPress plugin from a ZIP file
Select the Itinerak ZIP file and click Install Now to start the installation.
Tip: If you downloaded Itinerak directly from the official website, you can upload the ZIP file exactly as downloaded. No manual extraction or file modification is required.
Step 4

Activate the Itinerak Plugin

Once WordPress finishes installing Itinerak, you need to activate the plugin before you can start using it. There are two simple ways to do this.

Option 1: Activate Itinerak After Installation

After the installation is complete, WordPress will display a Plugin installed successfully message. Click Activate Plugin to enable Itinerak immediately.
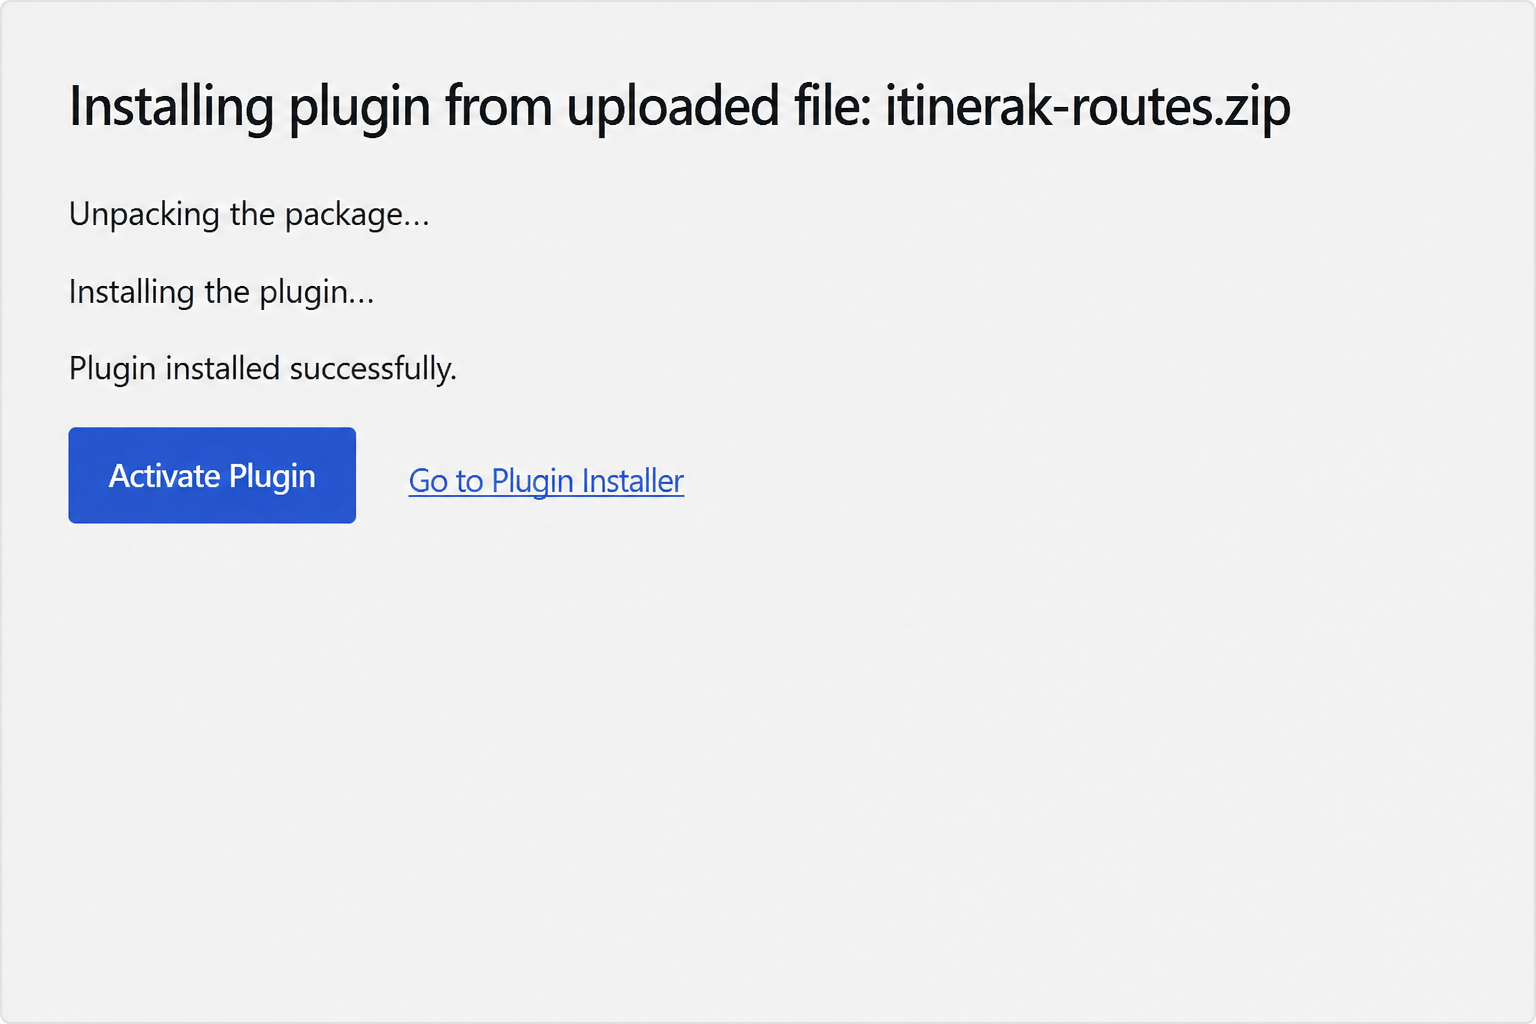
Activate the Itinerak plugin after installation in WordPress
Click Activate Plugin after WordPress successfully installs Itinerak.

Option 2: Activate Itinerak from Installed Plugins

If you leave the installation page before activating Itinerak, go to Plugins → Installed Plugins in your WordPress dashboard. Find Itinerak Routes and click Activate.
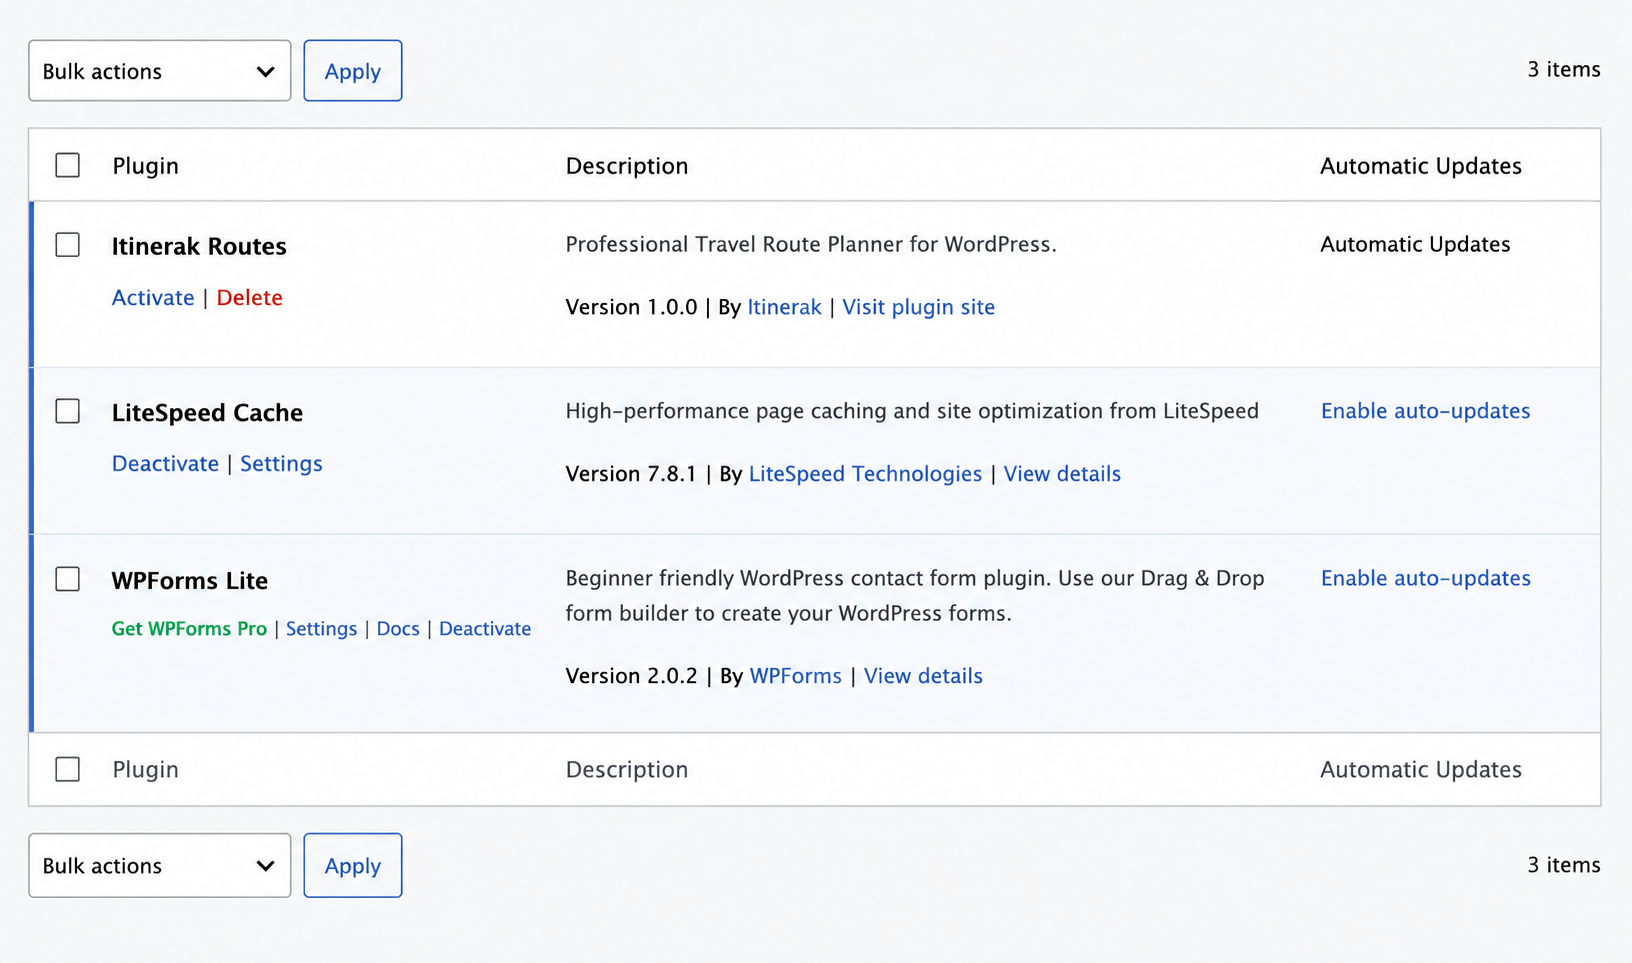
Activate the Itinerak WordPress plugin from the Installed Plugins page
Find Itinerak Routes in your Installed Plugins list and click Activate.
Good to know: Activating Itinerak does not require a paid plan. The Free plan is available immediately after activation, so you can start setting up the plugin and creating travel routes.
Step 5

Open the Itinerak Dashboard

After activation, a new Itinerak menu will appear in your WordPress dashboard. Click Itinerak → Dashboard to open the main plugin dashboard.

The dashboard gives you a quick overview of your Itinerak installation, including the installed version, your current plan, license status, and the features available for your website.

Itinerak WordPress dashboard with the Free plan active
The Itinerak dashboard showing version 1.0.0 and the active Free plan.
Free plan ready: If the dashboard shows Plan: Free and License: Active, Itinerak is installed correctly and ready to use. You do not need to activate a paid license to start using the Free plan.
Step 6

Choose Your Country for the Free Plan

The Itinerak Free plan gives you access to one country. Before creating your first itinerary, go to Itinerak → Settings and choose the country you want to use.

In the Planner section, open the Licensed Country dropdown and select your country from the available options. Then click Save Settings.
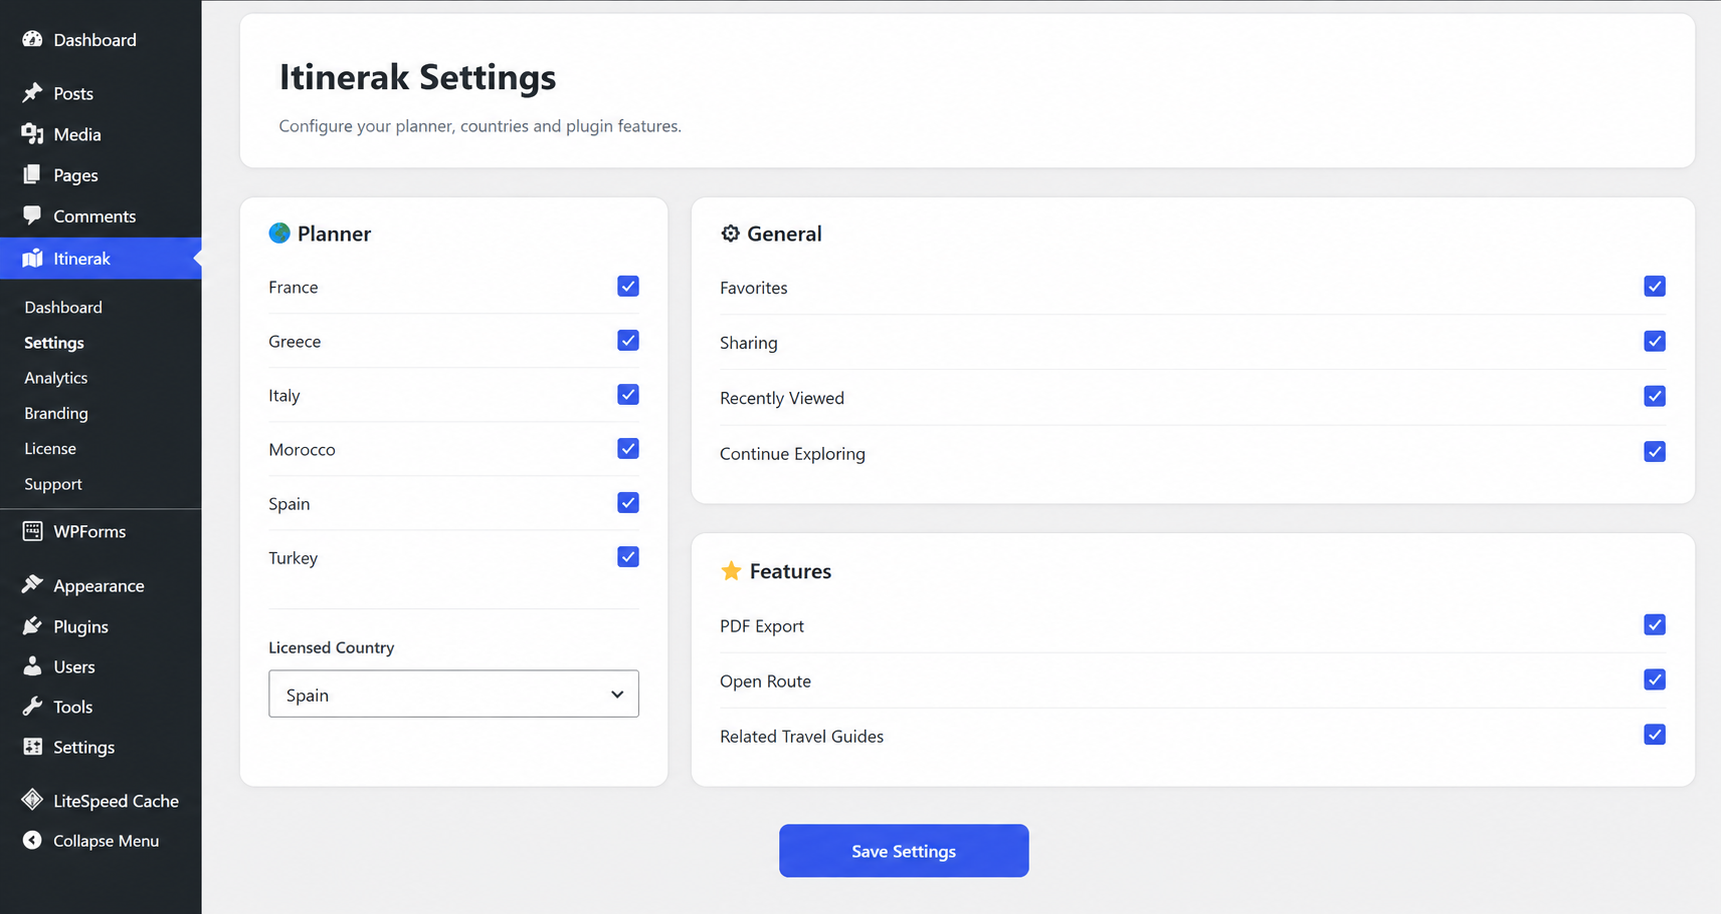
Choose a licensed country for the Itinerak Free plan
Select your Free plan country from Licensed Country and save your settings.
Important: For the Free plan, choose your country from Licensed Country. The country checkboxes above control which countries appear in the Planner and do not change the country included with your Free plan.
Step 7

You’re Ready to Start Using Itinerak

That’s it! Itinerak is now installed, activated, and ready to use on your WordPress website. You can start with the Free plan and upgrade later only if you need additional countries or premium features.
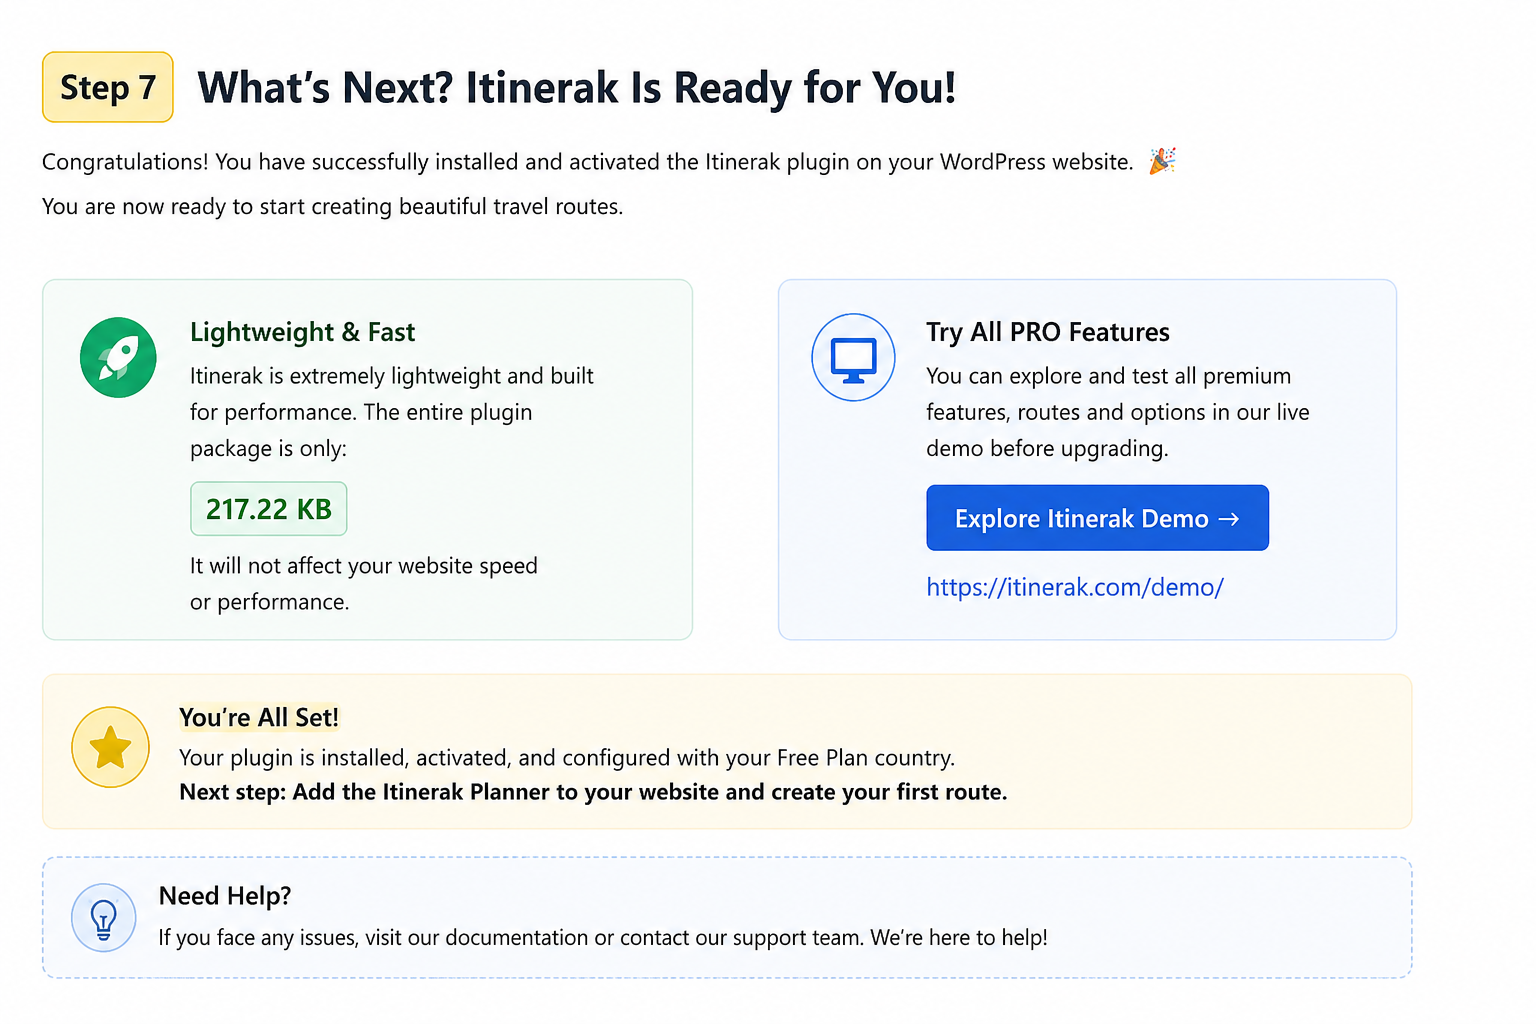
Itinerak WordPress plugin installed and ready to use
Itinerak is installed and ready — start with the Free plan or explore the premium features in the live demo.
Lightweight plugin: Itinerak 1.0.0 comes in a compact plugin package of approximately 217.22 KB, keeping the core plugin installation lightweight.
Want to explore more? You can test Itinerak’s premium features and see how the complete route-planning experience works on our live demo. Explore the Itinerak Demo .
Next Step

Add the Itinerak Planner to Your Website

Now that Itinerak is installed and activated, the next step is to display the planner on your WordPress website. You can add it to a dedicated page, an existing page, a blog post, a sidebar, a widget area, or any location that supports WordPress shortcodes.

Continue to the Planner Setup Guide →

Leave a Comment